What is port forwarding?
A home network is protected by a router and firewalls that do not accept connections from outside. To make a server public, you need to tell the router and firewalls to let connections on a given port through to a given PC. This is called port forwarding (or opening a port).
| Where | What to set |
|---|---|
| Router | Forward connections on the listening ports to the PC running naptify-server (UPnP can set this up automatically) |
| Windows Defender Firewall | Allow incoming connections to naptify-server |
| Security software | If it has its own firewall, allow incoming connections to naptify-server |
Ports to open
| Port | Default | Purpose |
|---|---|---|
| Listening port | 8888 | The port that clients connect to |
| Redirect port | 8875 | Only if redirect is enabled |
If you change the numbers in the admin page, open the new numbers instead.
Port forwarding lets connections in from outside. Please open only the ports that naptify-server uses, and keep Windows and your security software up to date. Close any ports you no longer use.
Preparation: fix the local IP address
If you configure the router manually, the IP address of the PC inside the LAN (the local IP address) must not change. Otherwise, the address may change when the PC restarts, and the router will forward to the wrong place. This step is not needed if you use UPnP.
- Run
ipconfigin Terminal (or Command Prompt) and note the IPv4 address, subnet mask, and default gateway. - Fix the address in one of the ways below.
- Afterwards, make sure you can still reach the internet in a browser.
- In the router’s DHCP settings, always assign the same address to this PC (a feature often called “static lease” or “address reservation”)
- In Windows Settings → Network & internet → the properties of your connection (Ethernet or Wi-Fi) → IP assignment, select Edit, choose Manual, and enter the values you noted
Open ports automatically with UPnP
If your router supports UPnP, naptify-server can ask the router to forward the ports.
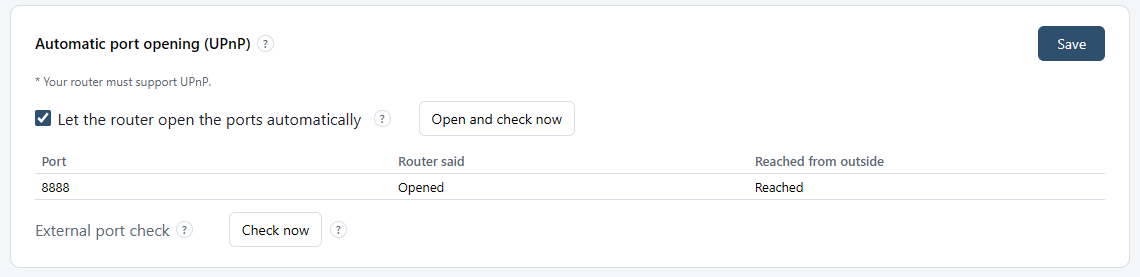
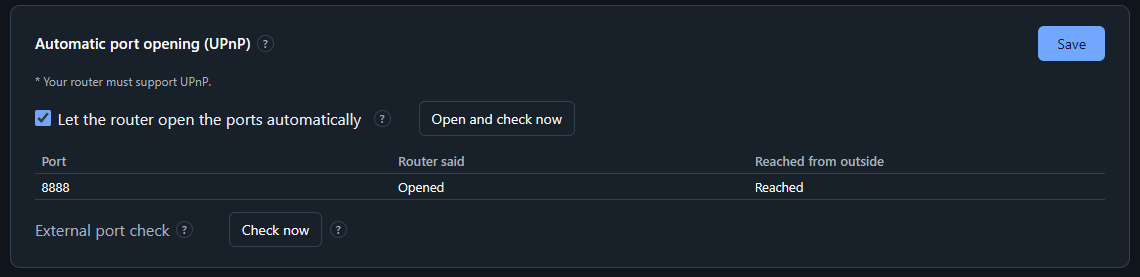
- In Settings → Connection settings → Automatic port opening (UPnP), turn on “Let the router open the ports automatically” and save.
- Select “Open and check now”.
- For each listening port, “Router said” and “Reached from outside” are shown.
Even if the router answers “Opened”, the port may still be unreachable from outside. Make sure the check from outside shows “Reached”.
If it reports another NAT outside the router (another router or your provider’s equipment), the port cannot be reached from outside unless it is also opened on that outer device. If your router does not support UPnP or has it turned off, configure it manually as described below.
Configure the router manually
Add a port forwarding rule in the router’s settings (usually a page that opens in a browser). The name of the feature depends on the manufacturer; it may be called port forwarding, port mapping, NAT, or virtual server.
| Setting | Value |
|---|---|
| Destination (LAN IP address) | The local IP address of the PC running naptify-server |
| Port number | The listening port (8888 by default), and the redirect port (8875 by default) if you use redirect |
| Protocol | TCP |
See your router’s manual for the exact steps. If the setting does not take effect, restarting the router may help.
Windows Defender Firewall
When naptify-server starts listening for the first time, Windows may ask whether to allow it through the firewall. If it does, allow access on the network you use (usually a private network).
If Windows did not ask, or if you did not allow it, open Windows Security → Firewall & network protection → Allow an app through firewall, and add and allow naptify-server.exe. Allowing the app is recommended over allowing port numbers. Turning off the firewall itself is not recommended.
Security software
If your security software has its own firewall, allow incoming connections to naptify-server.exe there as well. The name and location of the setting differ between products, so please see the product’s manual. Allow only naptify-server rather than turning the firewall off.
Checking from outside
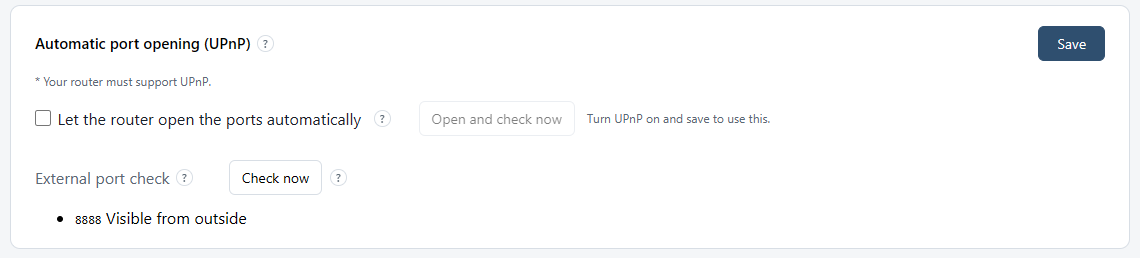
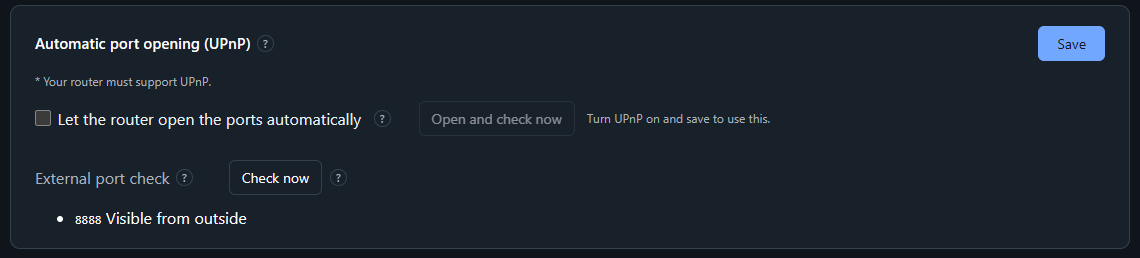
When you are done, open Settings → Connection settings → External port check and select “Check now”. D-DNS.JP tries to connect to each listening port from outside, one at a time.
| Result | Meaning and what to do |
|---|---|
| Visible from outside | Port forwarding is complete |
| Not reachable from outside (refused or did not arrive) | The router may be forwarding to the wrong PC, or a firewall or security software may be blocking the connection |
| Not reachable from outside (no answer — the router may not be forwarding this port) | Check the port forwarding settings on the router |
| Not checked: d-dns.jp rate limit reached | Wait a while and check again |
| Not checked | A port left out of this run to stay within the rate limit. Check again |
| d-dns.jp could not check it — this says nothing about the port | Wait a while and check again |
The check sends this server’s IP address and the NAPTIFY version to D-DNS.JP, where they are used to count how many NAPTIFY servers are running. It only tests whether a connection succeeds, so it cannot tell naptify-server apart from another service listening on the same port.
If you still cannot connect
- Port forwarding is not possible on some connections, such as IPv6 IPoE (IPv4 over IPv6) services or providers that share one global IP address among several customers. Please ask your provider whether port forwarding is available.
- Connecting by host name from a PC inside the same LAN may fail, depending on the router. Use the external port check, or test from a connection outside the LAN.
- If you cannot connect by host name, use “Checking the host name against the IP address” in Getting a host name to make sure the host name points to the right IP address.