The steps below are for Windows. For Linux, register naptify-server as a systemd service by following README.txt in the tar.gz package. The settings in the admin page (step 3 onward) are the same.
1
Download and extract
Extract the downloaded ZIP file to any folder. No installation is required.

2
First launch
Run naptify-server.exe. It creates the settings, database, and log folders automatically and stays in the system tray.

3
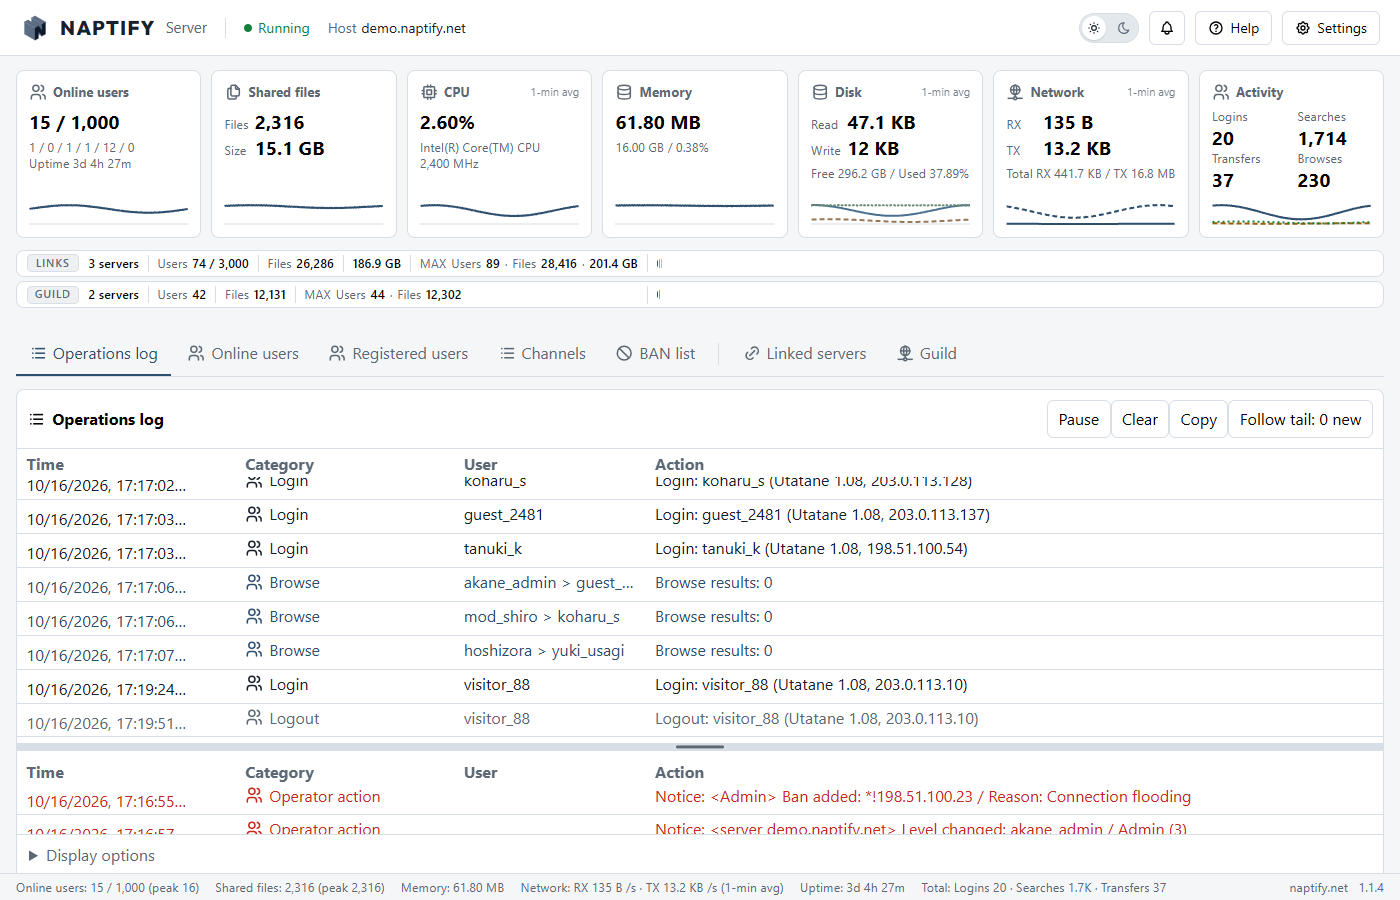
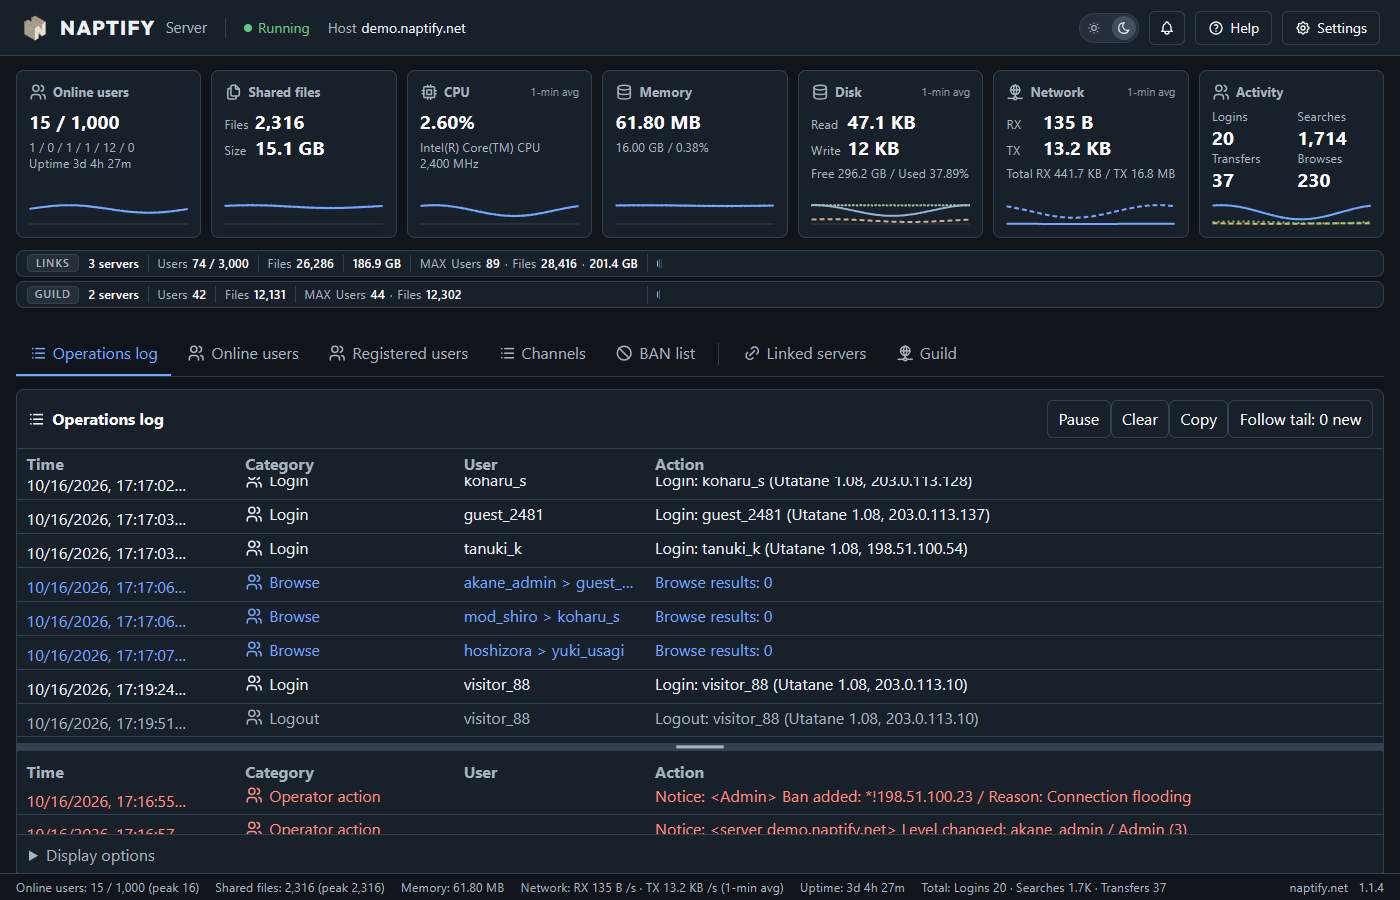
Open the admin page
Open the admin page from the system tray icon. By default, it can be opened only from a browser on this PC.
4
Get a host name
Prepare the host name that users enter as the server address. With dynamic DNS (such as D-DNS.JP), users can keep connecting with the same name even when the IP address changes. For details, see Getting a host name.


5
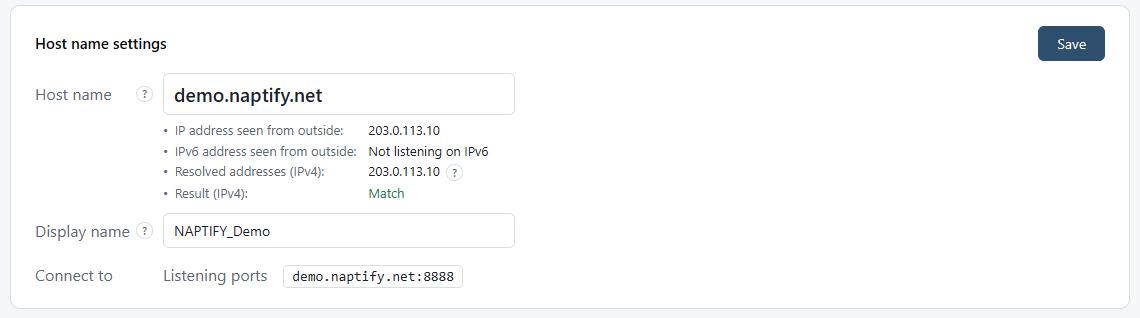
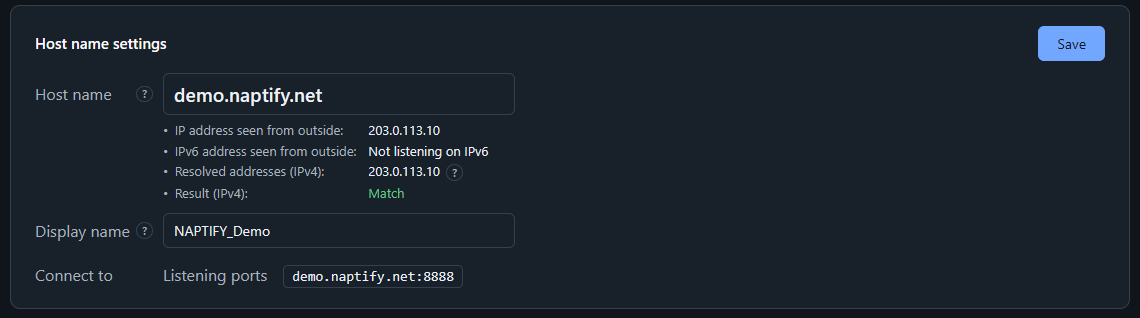
Configure the server address
In Settings → Connection settings, set the host name (the one you obtained), the display name, and the listening port.
6
Open the ports
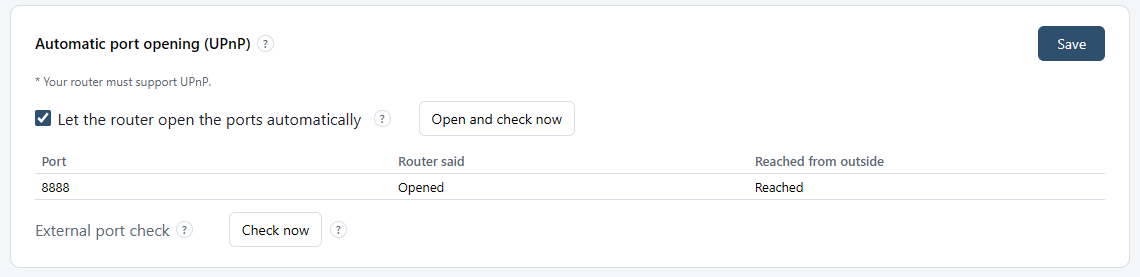
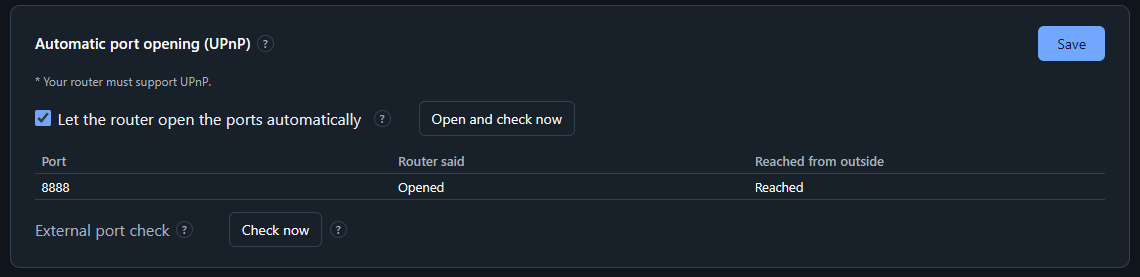
Open the ports automatically with UPnP, or configure the router manually. Allow the traffic in Windows Defender Firewall and any security software. For details, see Port forwarding.
7
Check external connectivity
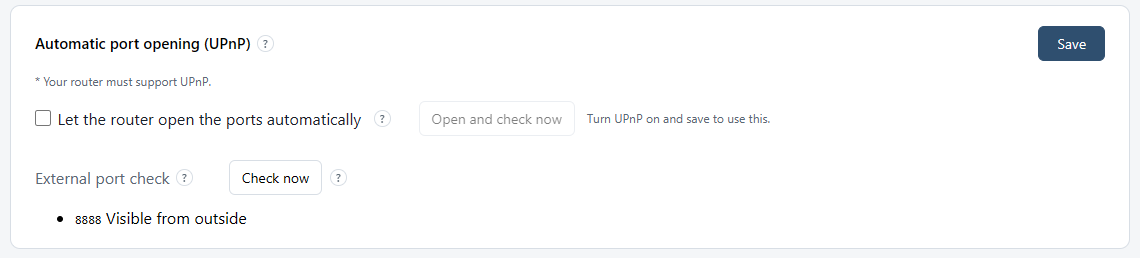
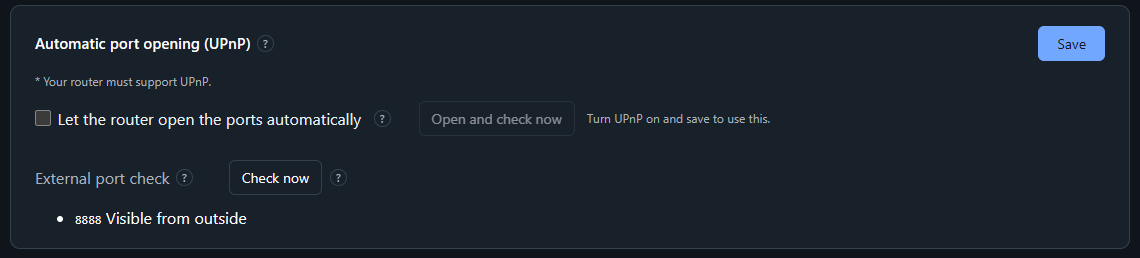
Run External port check in Connection settings to check reachability from outside through D-DNS.JP. Also confirm that the host name matches the external IP address.
8
Connect from a client
Enter “host name:port” in an OpenNap client and connect.

Migration from FaceNap
The steps for importing settings, registered users, bans, and more from an existing FaceNap server are in the manual.