Why you need a host name
On a home internet connection, the IP address seen from outside (the global IP address) can change whenever the router restarts or the line reconnects. If you give users the IP address directly, you have to tell them the new address every time it changes.
With dynamic DNS, a fixed host name such as example.d-dns.jp can point to your current IP address. Users simply enter the host name and can keep connecting with the same settings even when the IP address changes.
Get a host name from D-DNS.JP
This page uses D-DNS.JP, a dynamic DNS service. D-DNS.JP is a free service run by the same operator as the NAPTIFY project.
naptify-server can link with D-DNS.JP. From creating an account to getting a host name and updating the IP address automatically, everything is done in the admin page (no update tool such as DiCE is needed).
- In Settings → Connection settings, select “Create an account” under D-DNS.JP, enter your email address, and send the confirmation email. (If you already have an account, enter its email address and password and select “Check and save”.)
- Open the link in the email, choose a password, and complete the sign-up. naptify-server saves the email address and password automatically.
- Enter the subdomain you want, choose a domain, and request it. You can see right away whether it is available. The host name you get becomes the server’s host name.
- From then on, naptify-server notifies D-DNS.JP automatically whenever your IP address changes.
The IP address of your connection can change without notice. If you have not linked naptify-server with D-DNS.JP, you must update the IP address registered with D-DNS.JP every time it changes. Otherwise, the host name keeps pointing to the old address and users cannot connect.
You can also use another dynamic DNS service or a domain of your own. In that case, too, the address must be updated whenever your IP address changes.
Settings in the admin page
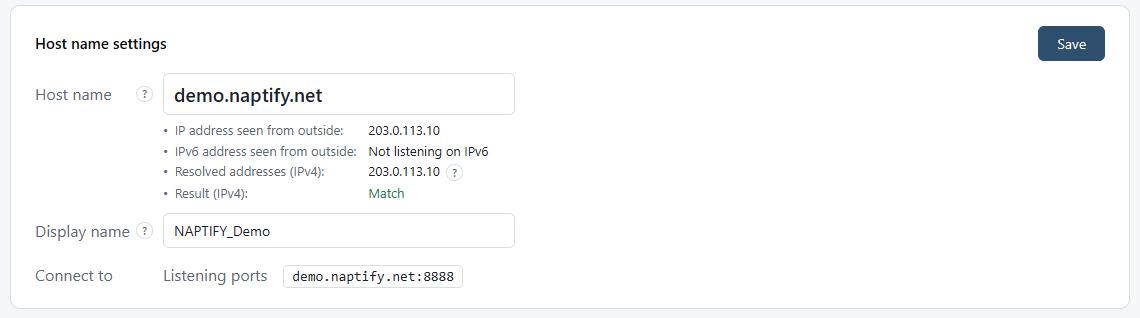
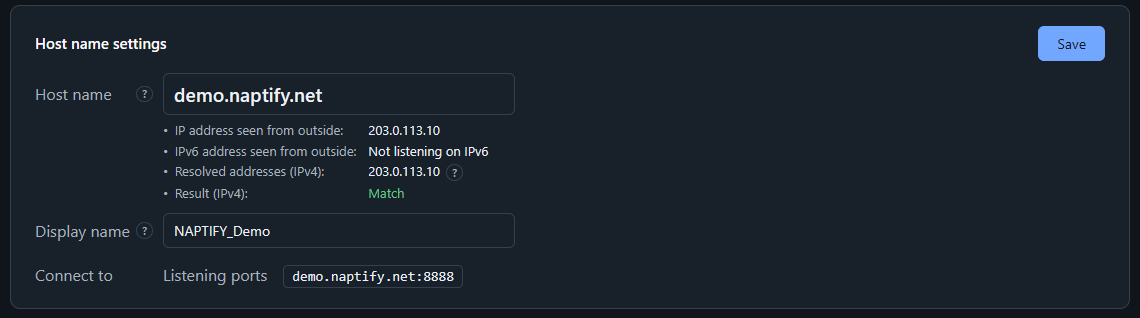
Enter the host name in Settings → Connection settings → Host name settings.
| Host name | The address users enter in their client (for example, xxx.d-dns.jp). Also used when redirect points users to this server |
| Display name | The server name shown to users. If left blank, the host name is used |
The display name and the host name given to linked servers take effect the next time the server starts. Also update this server’s host name registered on linked servers. The card’s “Connect to” row shows the addresses to give users in the form “host name:port”, ready to use as they are.
Checking the host name against the IP address
When you save the host name or open these settings, the IP address the host name points to is compared with this server’s external IP address, and the result is shown next to the host name.
| Result | Meaning and what to do |
|---|---|
| Match | The host name points to this server. The setup is complete |
| Mismatch | The host name points to an old IP address. Check that the IP address registered with D-DNS.JP has been updated |
| Not reachable from outside | The host name points to an address inside the LAN. Check the hosts file and any DNS server inside the LAN |
| Could not check | The host name cannot be resolved, or this server’s external IP address has not been obtained yet |
Right after the IP address changes, the result may be temporarily out of date because of the OS DNS cache.